This tutorial is only valid for users who have contracted our BigBlueButton service. If you are using a free version of BigBlueButton or have the service contracted with another provider, this feature may not be available.
Table of Contents
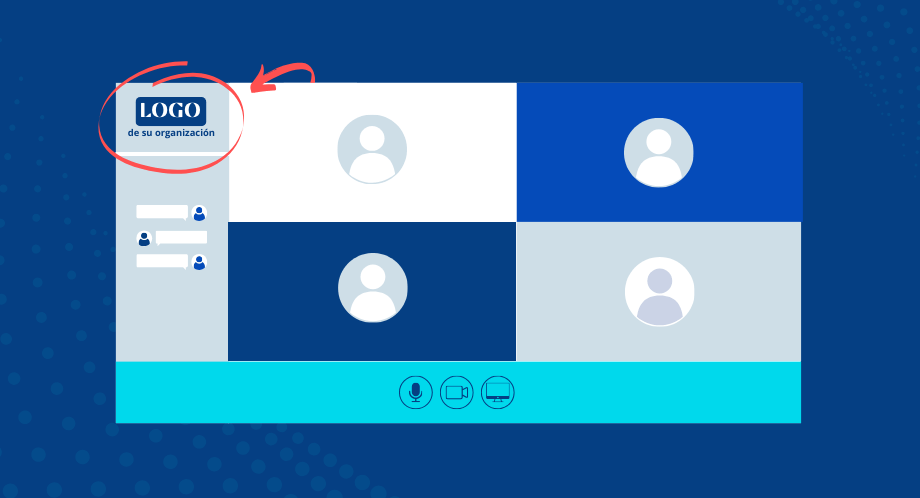
The ability to add a custom logo to virtual meetings can be crucial for establishing a professional and cohesive image for your organization. With our latest update of the BBB plugin, you can easily add a logo that represents the identity of your company or educational institution during your virtual meetings.
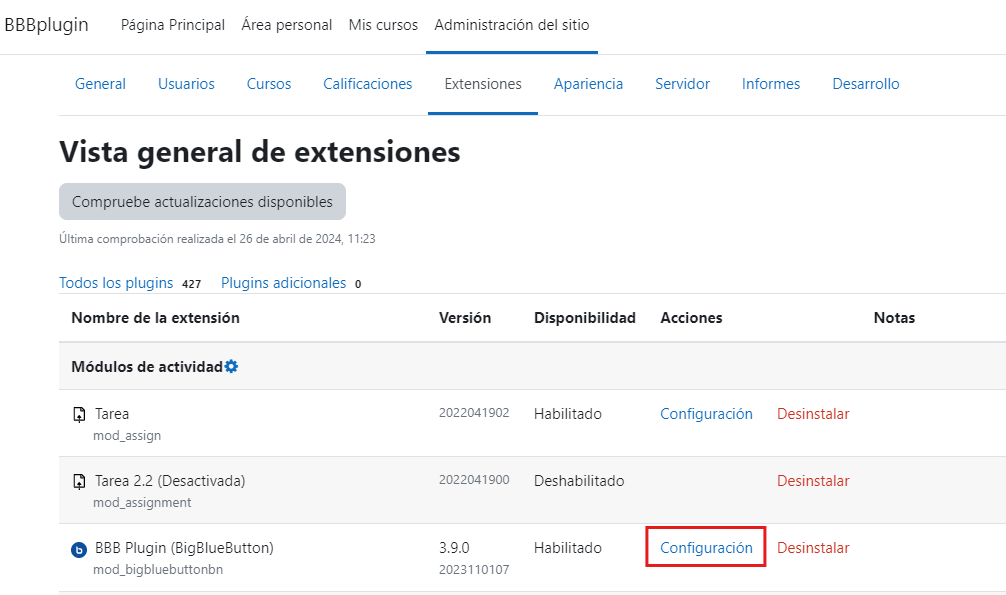
- Log in to the Moodle platform with an admin account and go to the site administration section.
- Go to the extensions section and select “plugins overview”.
- Find the BigBlueButton plugin and click on settings.

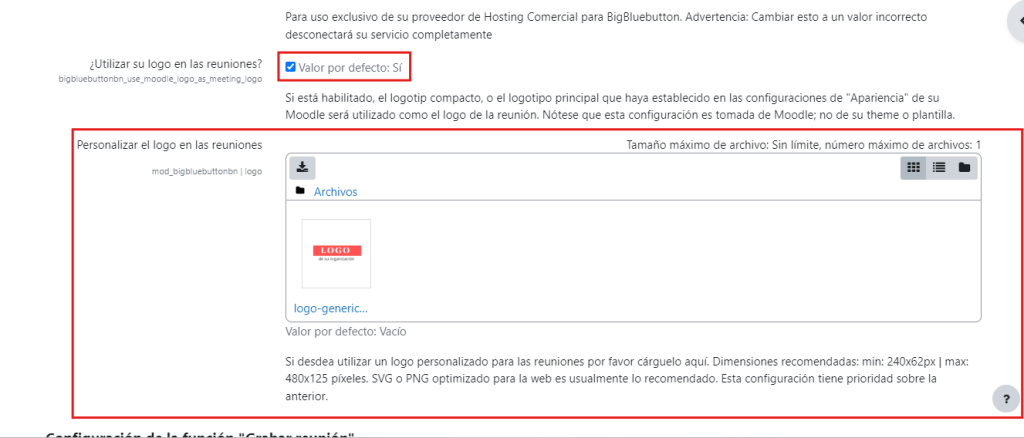
- In the plugin settings, look for the option “use your logo in your meetings”. Make sure it is enabled. if it is not, activate it.

- Look for the option to upload the logo. Ensure that the logo has the appropriate size.
- After uploading the logo, make sure to save the changes for them to take effect.
Recommendations for the logo
Format: SVG/PNG
Dimensions: 240 x 62 pixels (minimum), 480 x 125 pixels (maximum)
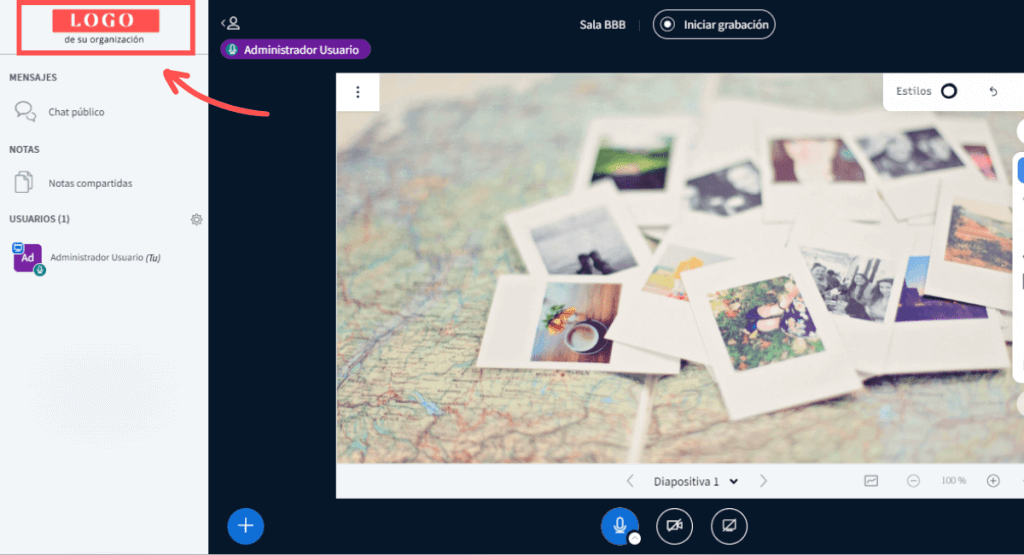
The result will be as follows:

Notes
- You can also choose to use the default logo of your Moodle platform (this option is enabled by default). If you do not have a configured logo, nothing will be displayed during the meetings.
- This functionality is only available for our latest version of the plugin.
